Duty3G/User Guide/Appendix A — Installing duty3G
From Documentation
(Difference between revisions)
| Revision as of 07:15, 20 September 2006 Moff (Talk | contribs) (→Configuring duty3G) ← Previous diff |
Revision as of 08:10, 20 September 2006 Moff (Talk | contribs) (→Configuring duty3G) Next diff → |
||
| Line 45: | Line 45: | ||
| === Configuring duty3G === | === Configuring duty3G === | ||
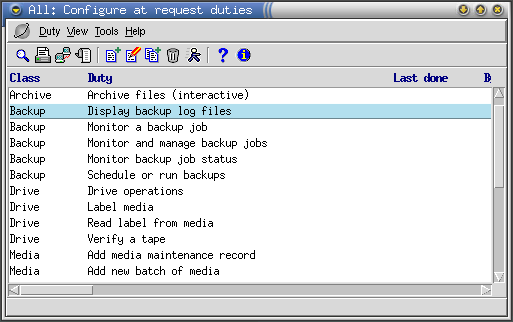
| - | [[Image:Duty admin.png|frame|Figure 14 — duty3G configuration console]] | + | [[Image:Duty admin.png|frame|Figure 14 — Duty configuration console]] |
| Duty3G comes with predefined duties for other COSmanager products. The next task is to customize duty3G, by adding new duties to automate other tasks frequently performed at your site. You do this through the duty3G configuration console. | Duty3G comes with predefined duties for other COSmanager products. The next task is to customize duty3G, by adding new duties to automate other tasks frequently performed at your site. You do this through the duty3G configuration console. | ||
Revision as of 08:10, 20 September 2006
Contents |
Appendix A — Installing duty3G
This chapter describes how to install duty3G for your environment. duty3G is installed through the COSmanager configuration menu. See Installing Applications and Modules in the COSmanager User Guide for full details of how to install COSmanager applications.
What you need
- the COSmanager framework installed on the target platform
- a duty3G Distribution
- a valid license key
- you must be a COSmanager user with the Manager role
Installing duty3G
- Download the distribution file to /tmp on the target host.
- From the Configuration menu, select COSmanager configuration > Applications.
- Select Application > Install.
- Press "choose". You will see a list of the applications that can be installed. Choose the entry titled duty3G latest version, and press Accept.
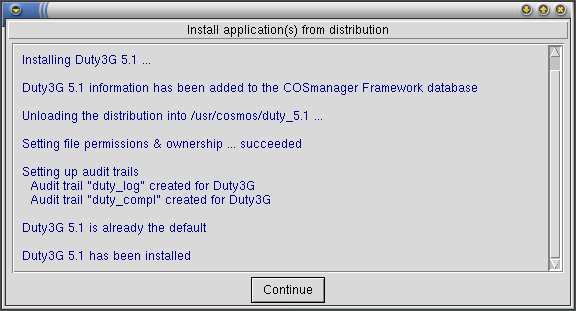
- COSmanager copies the duty3G files from the distribution file to the target directory and creates the duty3G audit trail and the duty3g compliance report directory.
- This completes the installation. You must now restart COSmanager for duty3G to come into affect.
Upgrading duty3G
- Download the distribution file to /tmp on the target host.
- From the Configuration menu, select COSmanager configuration > Applications.
- Select Application > Install.
- Press Choose. You will see a list of the applications that can be installed. Choose the entry titled duty3G, and press Accept.
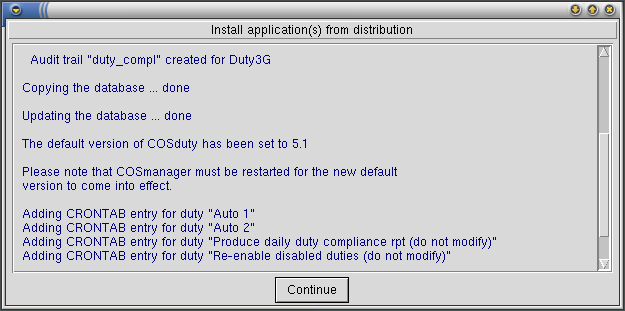
- COSmanager copies the duty3G files from the distribution file to the target directory, updates the duty3G audit trail and creates the duty3g compliance report directory.
- To migrate your existing COSduty 3.0 database to the newly installed version press Copy. Your existing database is copied and updated with new table columns.
- To make the newly install duty3G the default version press Accept, then press Continue.
- Any automatic duties are added or re-added to the cosmos crontab.
- This completes the upgrade installation. You must now restart COSmanager for the new version of duty3G to come into affect.
Configuring duty3G
Duty3G comes with predefined duties for other COSmanager products. The next task is to customize duty3G, by adding new duties to automate other tasks frequently performed at your site. You do this through the duty3G configuration console.
Press Config from the COSmanager button bar.
The main steps to set up an initial configuration are:
- add new duties
- See To Define a Duty
- assign existing duties to the correct roles
Appendix B - Duty3G Menus by Role


